Showing posts with label barry m. Show all posts

Sunday, 17 June 2012

Eye Bling - Gold

gold eye bling


Hiya!


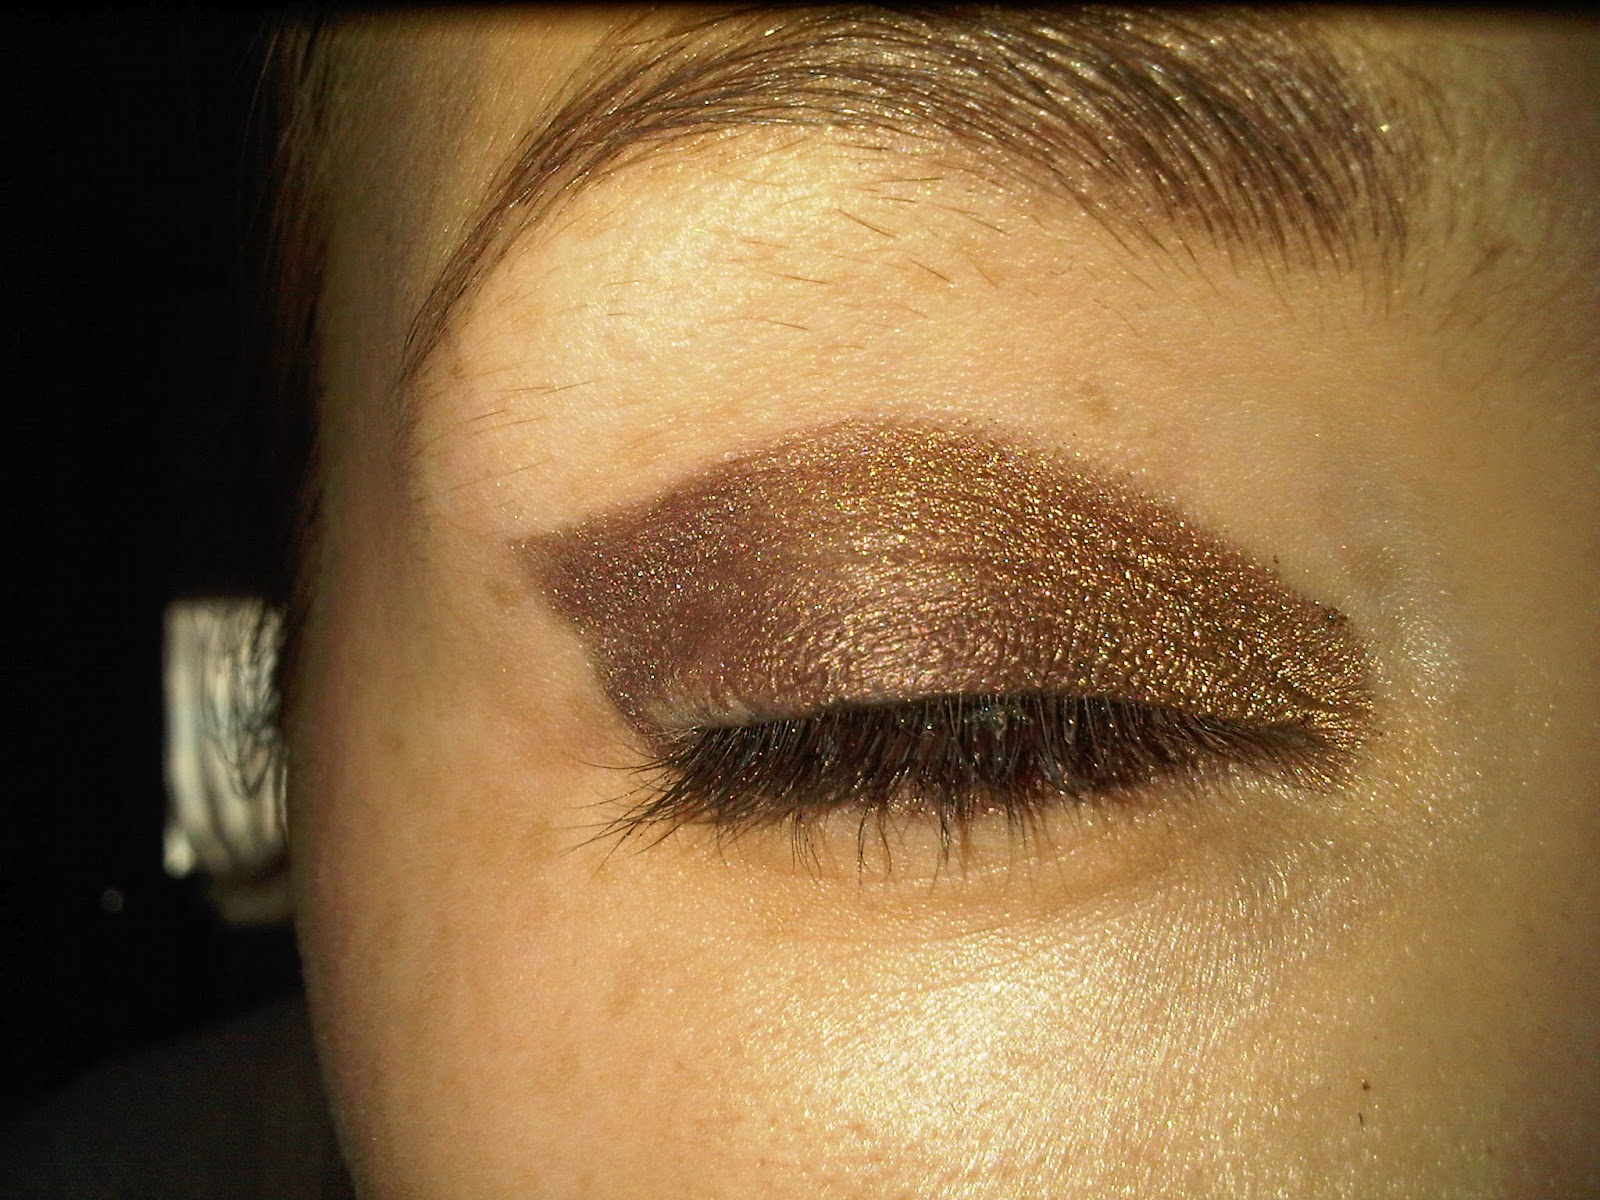
I thought this was a awesome look for night time: gold eye bling with some browns and bronze!

If you like, read on...

What I used:
makeup used for old eye bling
  •  The good old Urban Decay NAKED palette in SMOG and DARKHORSE
  • MAC Paint Pot in CONSTRUCTIVIST
  • Barry M Glitter Liquid Eyeliner in 11 GOLD
  • Rimmel Gel Pot Liner in BLACKEST BLACK
  • Soap and Glory Smoulder Kohl  Eyeliner in COCOA BEAN
  • MAC Zoom Lash Mascara in BLACK
brushes used for eye bling gold

  • Eye Rock Glimmer Topaz Crystal Tattoos
  • Urban Decay Brush (within the NAKED palette)
  • MAC 231 Small Shader Brush
  • MAC 219se Pencil Brush
  • MAC 224 Tapered Blending Brush 

Remember: Use any colours/brushes you have, this is just an example :)

Got all that?  Lets begin...

Step One
mac brown eyeshadow
Apply your paintpot with the small shader brush over your whole eyelid and under your eye, making a small flick at the end

Step Two
urban decay eyeshadow
Use the shade HALF BAKED with your Urban Decay brush and apply to the inner corner of your eyes, and blend to about 1/2 across the eyelid

Step Three
 blending brush for dark eyeshadow
Apply from DARKHORSE in the outer corner and use the blending brush to blend over your eyelid
Step Four
gel eyeliner
Apply the gel eyeliner across your eyelid, following the natural shape of your eye

Step Five
kohl eyeliner
Apply your kohl eyeliner along your waterline, smudging slightly under your eye

Step Six
eye bling
Cut the eye bling to shape, peel off the backing paper and place carefully on your eyelid, hold down for a few seconds to warm up the adhesive, and slowly peel back.
Use the Barry M gold eyeliner and line just above the black eyeliner, and under the outer corner of your eye. I used the shader brush to sweep over the rest of the bling, to blend it all together
Add lashings of mascara ( or falsies) and.......
Taa-Daa!

gold eye bling
gold eye bling finished look


What you guys think?  I just threw those colours together but you could be creative with it!
Please comment/subscribe if you enjoyed :)
Make your eyes pop!

Gem xxx

Sunday, 10 June 2012

Leopard Print Nails - Rawrrr!

Show off your wild side with leopard nails! They're so easy and quick to do, but look so professional!

leopard print nails cat ring
The great thing about this design is you can use any colours you want! Be creative! For this tutorial, I used:
leopard print nails nail polish close up
  • Barry M Instant Nail Effects 320 Foil
  • Barry M Nail Paint 136 Tangerine
  • Barry M "All in one" Basecoat, Topcoat & Nail Hardener Nail Paint NP54
  • Kiss Nail Art Paint in Black 

Before you start, make sure you have some scrap paper to wipe any excess nail varnish, and, if you like, find a leopard print pattern to use as a reference
Step One
Always apply a basecoat before using colour, to protect your nails and to give a smoother finish

Step Two
Apply your gold colour

gold foil nail polish

Step Three
Use your nail art brush to make "c" shapes on your nails in different directions, don't worry if some lines are thicker or thinner than others, that's what gives it the effect we're after!

leopard print picture for reference
leopard print nail

Step Four
Making sure your nails are dry, take a thin nail brush (or clean the one you just used),and dip into your orange colour and carefully fill in around the "c" shapes
hand close up


Step Five
Apply a topcoat to protect from chipping and voila! Leopard print nails!
Practise makes perfect with this technique, practise on some paper first if you like!
final result leopard print nails
Hope you guys enjoyed! Let me know if you give it a go!  Rawwwrrrr!

Gem x