Saturday, 28 July 2012

Gone To The Beach...


Hello my lovelies!

No I haven't disappeared off the face of the Earth but I have
 "Gone to the beach"
I had an amazing time with my lovely boyfriend, stayed in a cute little guest house, had some nice food, and some much needed Vitamin D :)


But I am back, refreshed, and more excited and inspired than ever to really take this blog to the next level

Stick around, as from next week, there's going to be some awesome stuff!

Don't miss it!

Thank you to each and every one of you for subscribing and visiting

Gem 

xXx


Friday, 6 July 2012

Review: Benefit they're real! Mascara

Hiya!

I split my time between Scotland and London, so I'm in airports ALOT, so I thought every few weeks I'd do a post about what products Ive found and purchased in Duty Free, since you can get some great discounts for makeup!

I love browsing around Duty Free, it's like a discounted department store, they have every makeup brand you could want, so I had a little wander over to Benefit this week:

duty free makeup counter


My find : Benefit They're Real! Mascara 

duty free benefit mascara
High Street Price: £18.50 
Airport Price: £15.40 - That will do nicely!

What Benefit Says;

"The UK's No.1 Best Selling Mascara
They're real! lengthens, curls, volumises, lifts & separates. Our jet black, long-wearing formula won’t smudge or dry out. A specially designed brush reveals lashes you never knew you had!"

Sounds very appealing, so I had to try it out!

benefit mascara
benefit mascara packaging
First off, I really liked the packaging, its very sleek and professional

The brush is the secret to massive lashes , you use it like a normal mascara brush, wiggling it from side to side as you pull it through your lashes, then hold it vertically and use the ball at the end to separate your lashes for a maximum volume

My eyelashes before mascara aren't anything special
I've already applied my usual eyeshadow and eyeliner to be able to show you the full finished effect:

Before
benefit mascara
benefit mascara


Also excuse my eyebrows! I'm going to be going to get them tinted and waxed to blog about , so bear with them! Haha x

So here's the result:


After


before and after benefit mascara
What do you guys think?  I found the mascara slightly clumpy to apply, even after I used the ball at the top to separate, but I'm thrilled with how long they made my eyelashes

Would you guys buy it? Has anyone used Benefit mascaras before? Do you think you'd swap your false eyelashes for it? I would definitely buy this again!

Hope you enjoyed that little review!

Gem xxx


Tuesday, 26 June 2012

Inspired by Kristen Stewart - Smokey Eyes

Hiya Everyone

Ok I admit it - I am a Twihard.

I adore the Twilight books, and I enjoy the films, but you don't have to be a fan to admire Kristen Stewart.  

I think she's beautiful, she has her own unique style, she doesn't care about following others, she's her own person (and I love the fact she wears her Converse to film premiers!)

Her make-up is always fantastic, very smokey and smudgy, so I thought I would do my version of her makeup inspired by her look at the 2009 MTV Movie Awards

kristen stewart makeup

It's such a beautiful look, so here's what I used for my version:

kristen stewart inspired smokey eye makeup
  • Urban Decay NAKED palate in NAKED,BUCK and CREEP
  • MAC Tartan Tale Dashing Lassie Eye Shadows in A DASHING LASSIE and MAGICAL MIST
  • MAC Eyeshadow in BRONZE
  • MAC Zoom Fast Mascara in BLACK
  • RIMMEL Waterproof Gel Eyeliner in BLACK 
  • RIMMEL Soft Kohl Eyeliner Pencil in STORMY GREY
  • Eylure Katy Perry Eyelashes in Oh Honey!
  • Duo Eyelash Adhesive Glue
kristen stewart inspired smokey eye makeup
  • MAC 219 Pencil Brush
  • MAC 231 Small Shader Brush
  • MAC 224 Tapered Blending Brush
  • MAC 275 Medium Angled Shading Brush
Note: I'm aware the Dashing Lassie palate was Limited Edition, however, any silver grey and white shades will do :)

Lets begin!

Step One

kristen stewart inspired smokey eye makeup

 Using a 275 brush I applied the NAKED shade all over my eye for a nice base colour

Step Two

kristen stewart inspired smokey eye makeup

Using the 219 brush, I mixed the white and grey shades and applied in the middle of my eyelid

Step Three

kristen stewart inspired smokey eye makeup

Using the 219 brush I applied CREEP in the outer corner of my eye, blending to mix with the other shades slightly

Step Four

kristen stewart inspired smokey eye makeup

Apply BUCK in the inner corner of your eye with the 231 brush, and across the crease of your eyelid, apply a little more in the outer corner and spread outwards slightly.  Don't worry about it being messy, as you'll be blending it all in

Step Five

kristen stewart inspired smokey eye makeup

Blend Blend Blend!


Step Six
kristen stewart inspired smokey eye makeup

 Use the gel eyeliner and fill in over the CREEP shade, to add more depth, then use your 231 shader brush to smudge the eyeliner and blend it more
Step Seven
kristen stewart inspired smokey eye makeup


Using the gel eyeliner, apply a very very thin line from the inner corner, right to your outer corner

Step Eight

kristen stewart inspired smokey eye makeup

Apply your grey eyeliner to the waterline of your eye

Step Nine

kristen stewart inspired smokey eye makeup
Use the flat side of a 231 brush and apply BUCK under your eyelid, and join with your outer corner

Step Ten

kristen stewart inspired smokey eye makeup
This look doesn't have really mega full lashes, but I couldn't find any half lash sets that I liked, so I've used Katy Perry Eyelashes and cut them about 3/4 the way across, I used my eyelash applicator and Duo glue 

Step Eleven

kristen stewart inspired smokey eye makeup
 I used MAC Zoom Mascara to blend the false eyelashes into my own, then used my shader brush to apply the bronze eyeshadow over the BUCK colour.

Blend everything together, and here's the final result:

kristen stewart inspired smokey eye makeup
 kristen stewart inspired smokey eye makeup
Kristen's Makeup/My Makeup

kristen stewart inspired smokey eye makeup

Hope you guys like the look, its very smouldering, and would go with most eye colours :) Obviously this is just my version of the look, but I like how it turned out

Thanks to everyone has has voted for me, subscribed to me, and commented on my posts, LipglossandCandyFloss has really taken off, and I appreciate the support so much x

Hope you guys try this look out!

Gem x


PS. Non Twilight fans look away now.......
kristen stewart inspired smokey eye makeup


Haha xxxx

Monday, 25 June 2012

Gradient Sparkle Nails


Hello everyone :)

I wanted to do a little post about my new nail crush - gradient nails

They're really easy to do, so read on!

What I used:
 nail polish for gradient nails


  • MaxFactor Mini Nail Polish in Cool Jade
  • Max Factor Mini Nail Polish in Juicy Plum
  • GOSH Nail Polish in Bubblegum Pink
  • Nina Ultra Pro - Wet Glaze
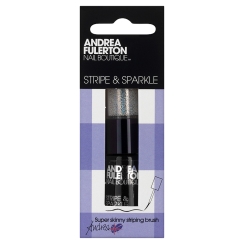
  • Andrea Fulerton Stripe and Sparkle 
  • A sponge, I used an old kitchen one and cut into a square shape :)

So, first off, decide what colours you'd like, what would go together, etc. This is just a quick example I put together with what I had, and I thought pastel colours would be pretty, but I'm sure you guys will be much more creative :)

 I cut the sponge, and applied the nail polish in 3 stripes, making sure that they overlapped slightly, as this gives the gradient effect

On a clean, dry nail, apply the sponge, holding down firmly and slowly moving it from side to side

gradient nails

Obviously you can re-apply more nail polish if the sponge has dried out.  I applied a few coats to my nails, because each time you apply, your blending it more to give a better effect.

While my nails were still wet, I sprinkled some of the glitter over them (careful - it gets messy! I applied it over a sink) and then applied my clear polish to my nails.

Finally, grab a cotton bud and some nail varnish remover to take away excess polish the sponge left on your skin

That's it! It's really easy yet I think it looks great
graient nails

gradient nails
That was my first ever attempt at gradient nails, so I'm pleased with the result, I think next time I'll buy some better sponges to make it blend better and overlap the polish more, but overall, it's really pretty :)

Hope you enjoyed that quick post, I've got some exciting makeup looks I'm adding this week, so check back soon, it's going to be awesome!

Gem
xxx
Tuesday, 19 June 2012

The Next Big Thing - Fake/Temporary Tattoos

Hiya Everyone!

So I wanted to do a post about the new trend - fake/temporary tattoos! Think the sticker tattoos you had as a kid, which you would wet then stick - but for (kind of) grown ups!

Lots of us use hair extensions to achieve long hair, knowing they can be removed
Or false nails/eyelashes, to achieve a temporary effect, why not tattoos?

I know they're not to everyones taste, but I personally love quote tattoos, I think they're beautiful. Would I ever get one?  I change my mind about what to have for dinner ten times before I decide, so I'd need to be 100% sure for a good few months before I take the plunge. I'd love to get one eventually though :)

skin art tattoos

I purchased Skin Art Temporary Tattoo Words at Boots for £7.99

skin art tattoo quotes
It comes with three sheets, with words, quotes, and single letters so you can make your own!
They last for about 5 days, which I think is pretty good!

Its so simple - cut out what you want and use a wet sponge to hold onto your skin for a few seconds - done! :)

So, I tested out a few for you guys to show what they look like on skin:


fake tattoo
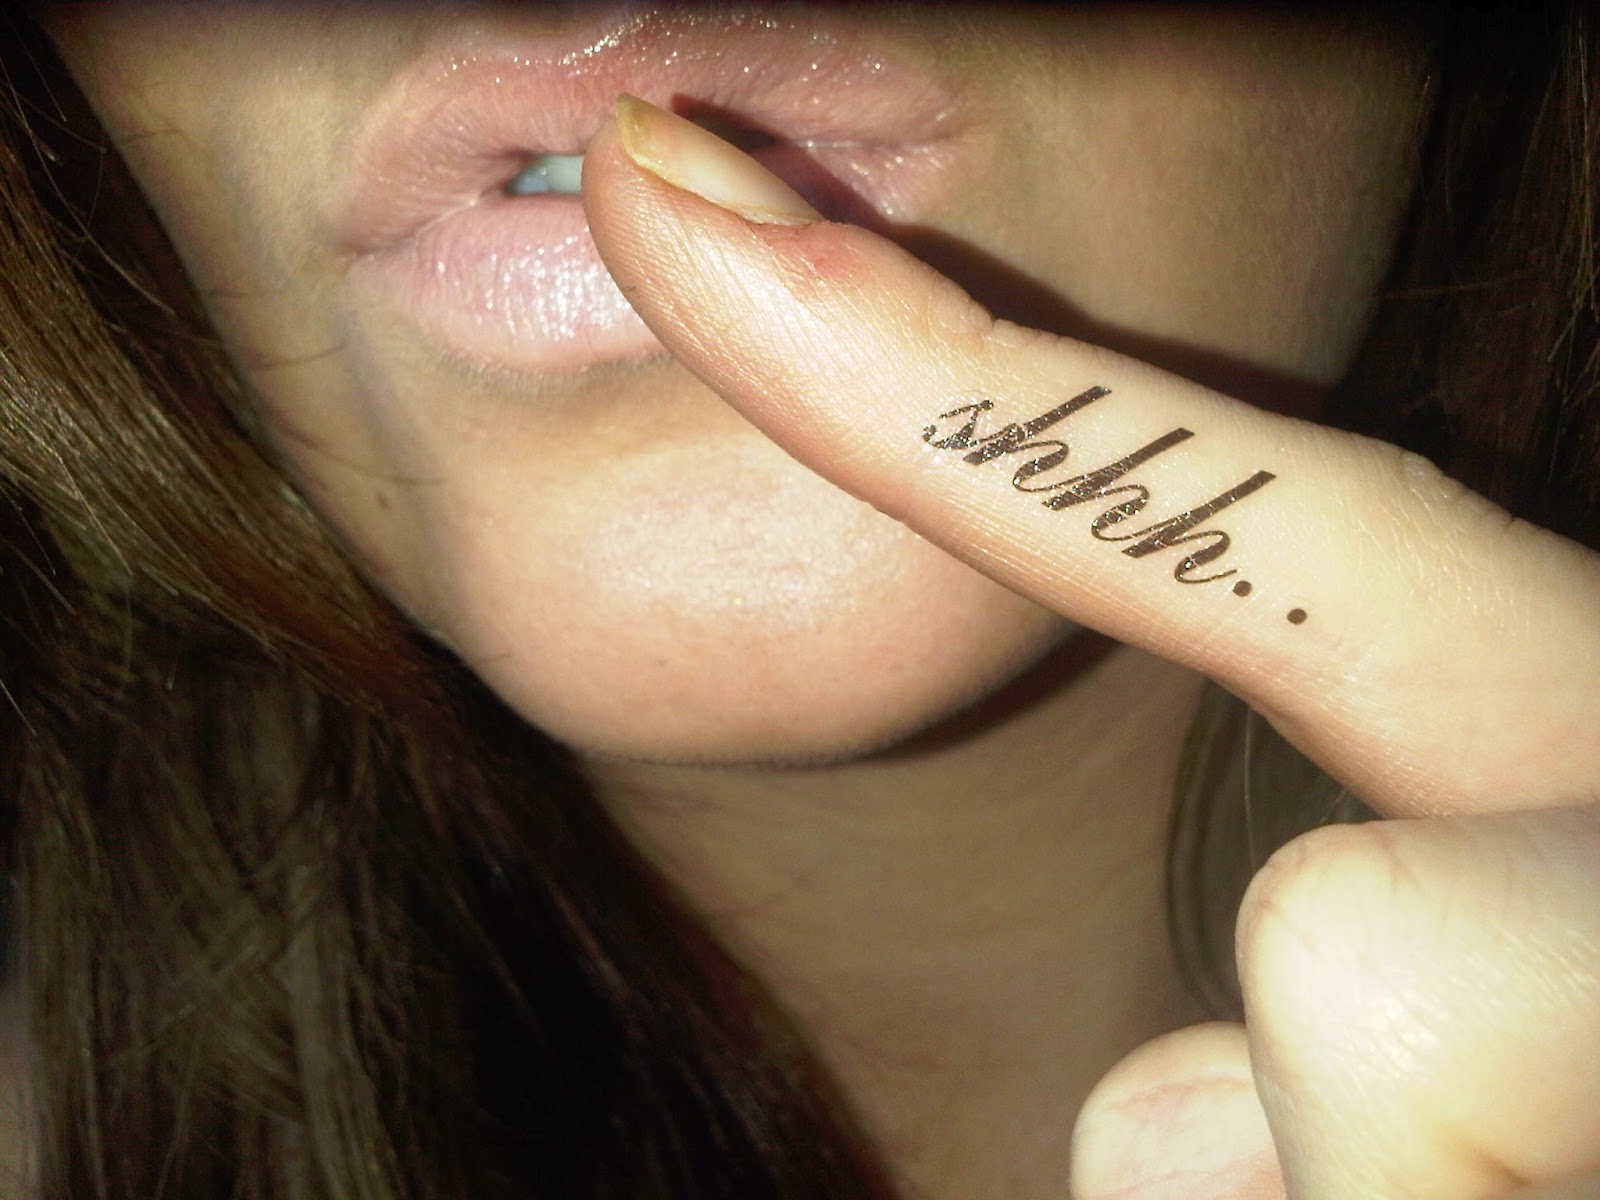
A very Rihanna style shhh..
temporary tattoo
Amor Vincit Omnia ("Love Conquers All") across my collarbone

false tattoo
Fighter - (love that one!) Is my favourite!
I tried to make Gem but I should have put them closer together - my bad! But you get the idea!


Love Laugh Live on my arm
Whatever will be will be on my foot, which I'd love to have done

What you guys think? Fun for parties, holidays etc (ooo what about festivals this summer?!) , without the long term commitment! 
So easy to apply, and you can remove them earlier than the five days, gently exfoliate with warm water!

Do you think they look "real?"

Hope you guys enjoyed, or at least appreciate the fact that I've just covered myself in temporary tattoos for the next few days!

Please comment/subscribe, and if your in a really good mood or feel sorry for me, nominate me on the Cosmo Button on the sidebar!

Thank you!

Gem xxx


P.S Thought I'd amuse you guys, I actually put Nothing Is Permanent on my lower stomach to show you, but I put it on upside down - opps! Glad its not permanent now! Haha!